POS settings and UPI QR
Each unlocked terminal has Settings for store address (ship-to-store), a Payment QR used on customer-link checkout, and archive browsing.
Open the gear icon → /{posSlug}/settings. Tabs: Store Address, Payment QR, Archive.
Two different UPI QR codes
| QR | App | Used when |
|---|---|---|
| Admin Settings → Payment → UPI QR code | Admin | In-person POS Complete Payment modal (qrCodeUrl from app settings) |
| POS Settings → Payment QR | POS | Customer-link checkout payment proof for this terminal |
Configure both if you take counter UPI and send customer links. Creating a terminal does not set either QR — see Create a POS terminal.
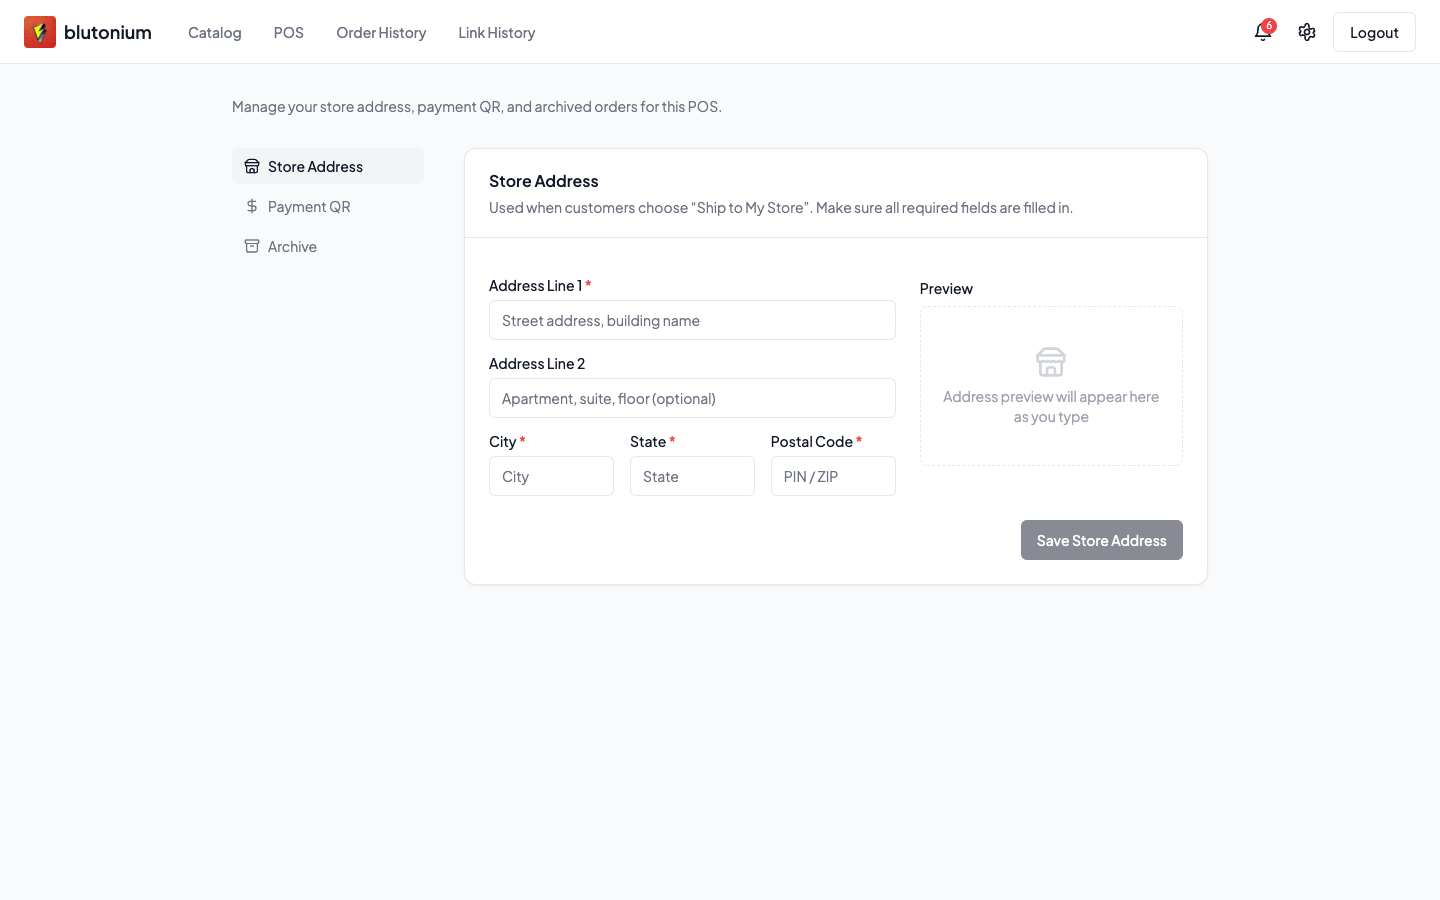
Store Address
Used when cashiers choose Store (Ship to My Store) on an in-store order.
- Open Store Address.
- Fill Address Line 1, City, State, Postal Code (required). Address Line 2 is optional.
- Check the preview under Ship to Store.
- Click Save Store Address.
Until this is complete, choosing Store on checkout warns you to configure the address first.
Payment QR (customer links)
- Open Payment QR.
- Review Current QR Code, or the empty state No UPI QR code uploaded yet.
- Drop or click to select an image (JPG, PNG, GIF · max 5 MB).
- Preview the new image, then Save QR Code (or Cancel).
Description in the UI: shown on customer-link checkout when customers pay. After save, a success toast confirms; the session keeps the new URL for this terminal.
Archive (this terminal)
POS archive is a browse surface for records already archived for this slug. Auto-archive delays and Run archive now are Admin-only — Notifications and order archive.
- Open Settings → Archive (
/{posSlug}/settings?tab=archive). - Open Archived orders →
/{posSlug}/settings/archive. - Browse archived orders and customer / catalog links for this POS (detail modals can show a related order ID when present).
- There is no Restore control on POS — restore from Admin Settings → Archive / Archived Orders (
/settings/archive).
Related
- In-store selling: Create an in-store order
- Counter UPI QR (Admin): Payment and support settings
- Customer-facing payment expectations: Quick start for customers