POS login and navigation
Counter staff open a terminal-specific URL and unlock with the terminal password (not an Admin username). After unlock, the header nav covers catalog browsing, checkout (POS), order history, link history, notifications, and settings.
URL shape: https://pos.novaorder.in/{posSlug} (or local POS port + /{posSlug}). See Apps and URLs. Create terminals in Admin: Create a POS terminal.
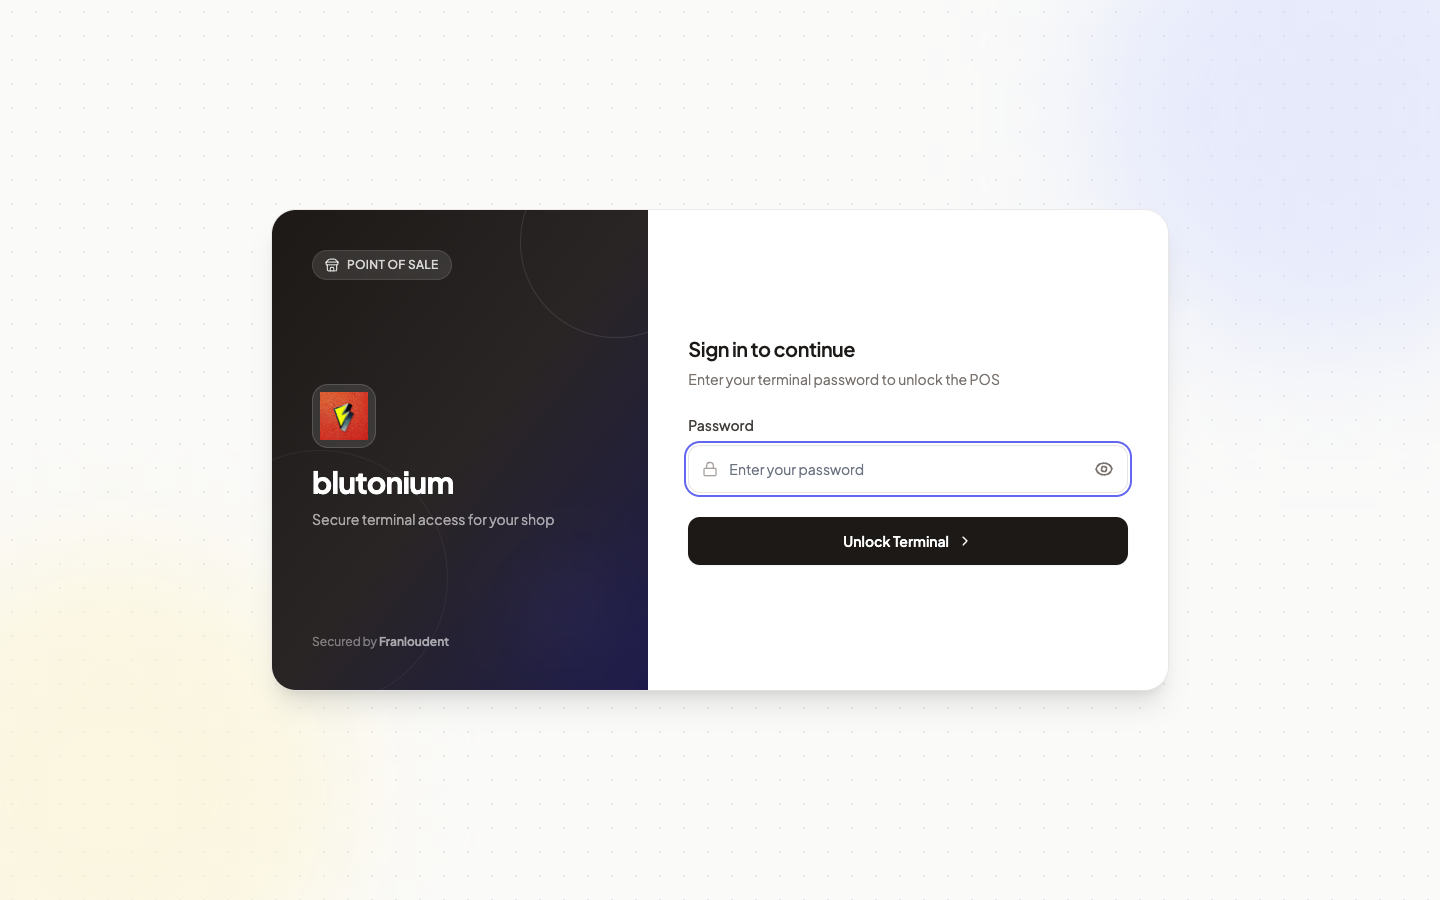
Unlock the terminal
- Open the POS URL you received (must include the terminal slug). Opening
/alone only shows a message to use a POS-specific URL. - Confirm the shop name/logo loads on the unlock screen (Sign in to continue).
- Enter the Password and click Unlock Terminal.
- On success you land inside the POS shell for that slug (session stored per slug in the browser).
If the password is wrong, the form shows an error and clears the password field. After too many failures (or if Admin marked the terminal locked), you see Terminal Locked — contact an administrator to unlock from Admin POS management.
Header navigation
| Control | Route | Purpose |
|---|---|---|
| Catalog | /{posSlug} | Browse banners, offers, products, custom categories, design collections; Add to POS sends items into checkout |
| POS | /{posSlug}/pos | In-store checkout: categories → cart → shipping → payment |
| Order History | /{posSlug}/orders | Kanban of live orders for this terminal |
| Link History | /{posSlug}/link-history | Customer links / catalog links created from this POS |
| Bell (notifications) | dropdown / /{posSlug}/notifications | Edit approvals, comments, status, link submits — POS notifications |
| Gear | /{posSlug}/settings | Store address, Payment QR, archive |
| Logout | — | Clears this slug’s session and returns to unlock |
On smaller screens the text nav may be hidden; use the routes above or widen the window. Mobile often keeps the bell and gear even when Catalog / POS / Order History / Link History text links are hidden.
Catalog vs POS
- Catalog is the browse experience (hero banners, offers marquee, product cards). Choosing Add to POS navigates to the POS checkout with those items already in the cart.
- POS is where you build the order, run the designs property wizard, choose shipping, and open Complete Payment.
Designs can also be opened from Catalog into /{posSlug}/designs/..., then added to POS via the design wizard (Add to POS).
Next steps
- Place an order: Create an in-store order.
- Configure customer-link UPI QR: Settings UPI QR.
- Alerts: POS notifications.