Payment verification and shipping
Verify payment proofs on ecommerce / pay-later orders, then mark delivery orders Shipped with a courier tracking ID.
Who and where
- Roles: Admin only for mutate (verify, reject, mark shipped). Accounts can view payment and shipping on the board/detail but cannot change them.
- Route:
/orders→ open Order Detail - Nav: Sidebar → Orders
Related: Admin Orders board.
Payment status labels
| Badge | Meaning |
|---|---|
| Payment Pending | Awaiting verification |
| Payment Verified | Accepted; order can move to Processing |
| Payment Rejected | Rejected; reason shown under Payment |
| Pay Later | Customer deferred payment |
| Not Required | No payment check needed for Processing |
Payment method badges when set: Cash on Delivery, Razorpay.
1. Open payment on an order
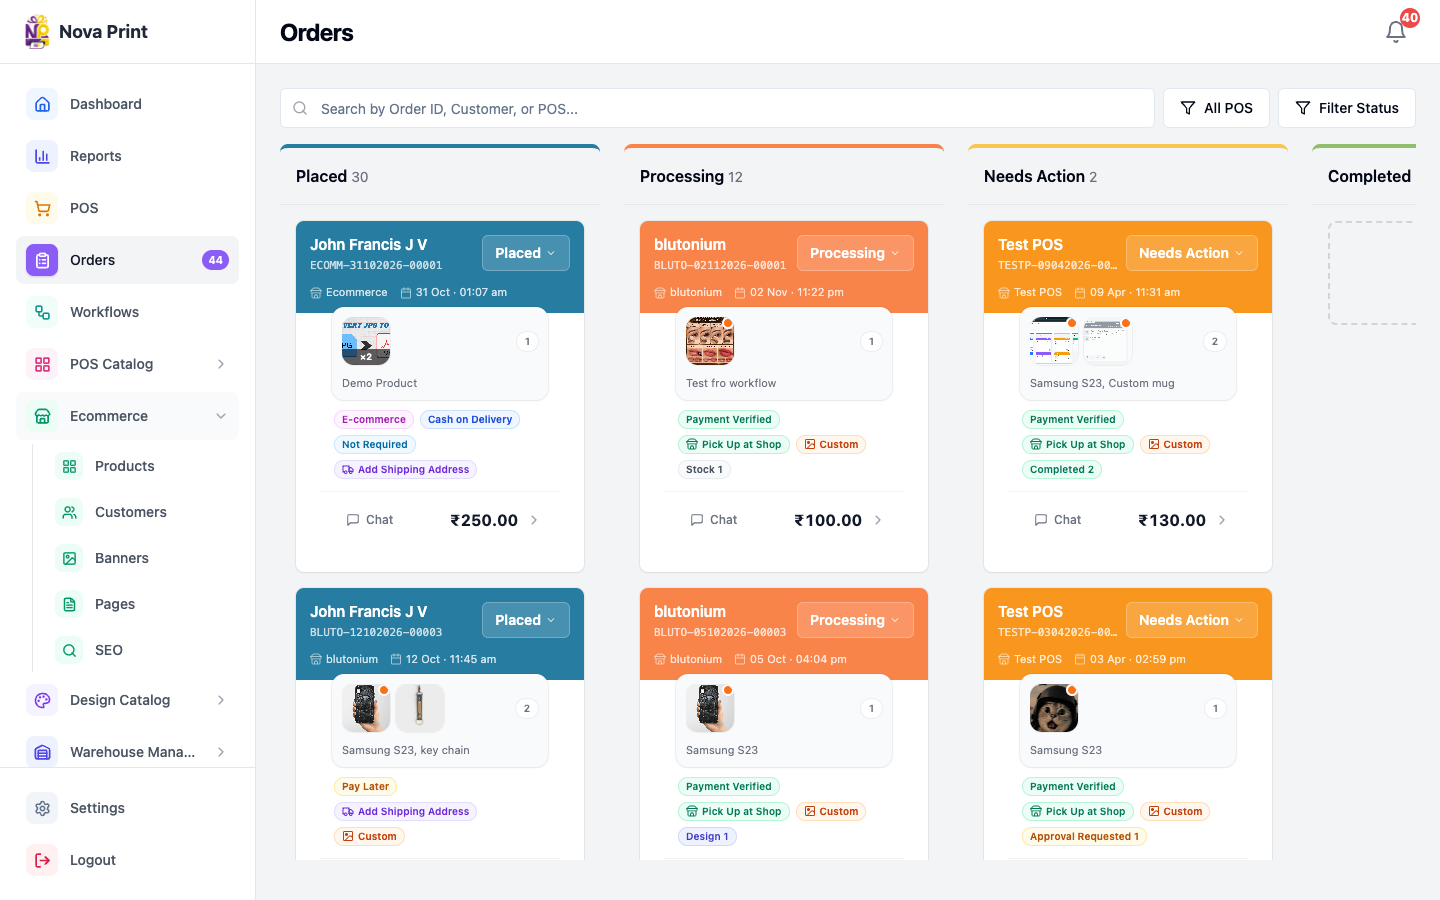
- Open Orders and find the order (often Payment Pending or Pay Later).
- Open Order Detail.
- Scroll to Payment.
- For COD ecommerce copy may show Pay with cash when order is delivered.
- For Razorpay / screenshot flows, open the payment image with View when a screenshot is present.
2. Verify payment
- With Payment visible and mutate access (admin), click Verify.
- Confirm the badge becomes Payment Verified.
- Use Change Status → Processing when production should start.
Without verified (or not-required) payment, Processing is rejected by the API (Cannot update status).
3. Mark payment pending again
- In Payment, click Mark Pending.
- Confirm the badge returns to Payment Pending.
4. Reject payment
- Click Reject to open the reason form.
- Enter Reason for rejecting payment.
- Click Confirm Reject.
- Empty reason shows toast Reason required.
- Confirm badge Payment Rejected and the stored reason under Reason:.
5. Ship a delivery order (tracking ID)
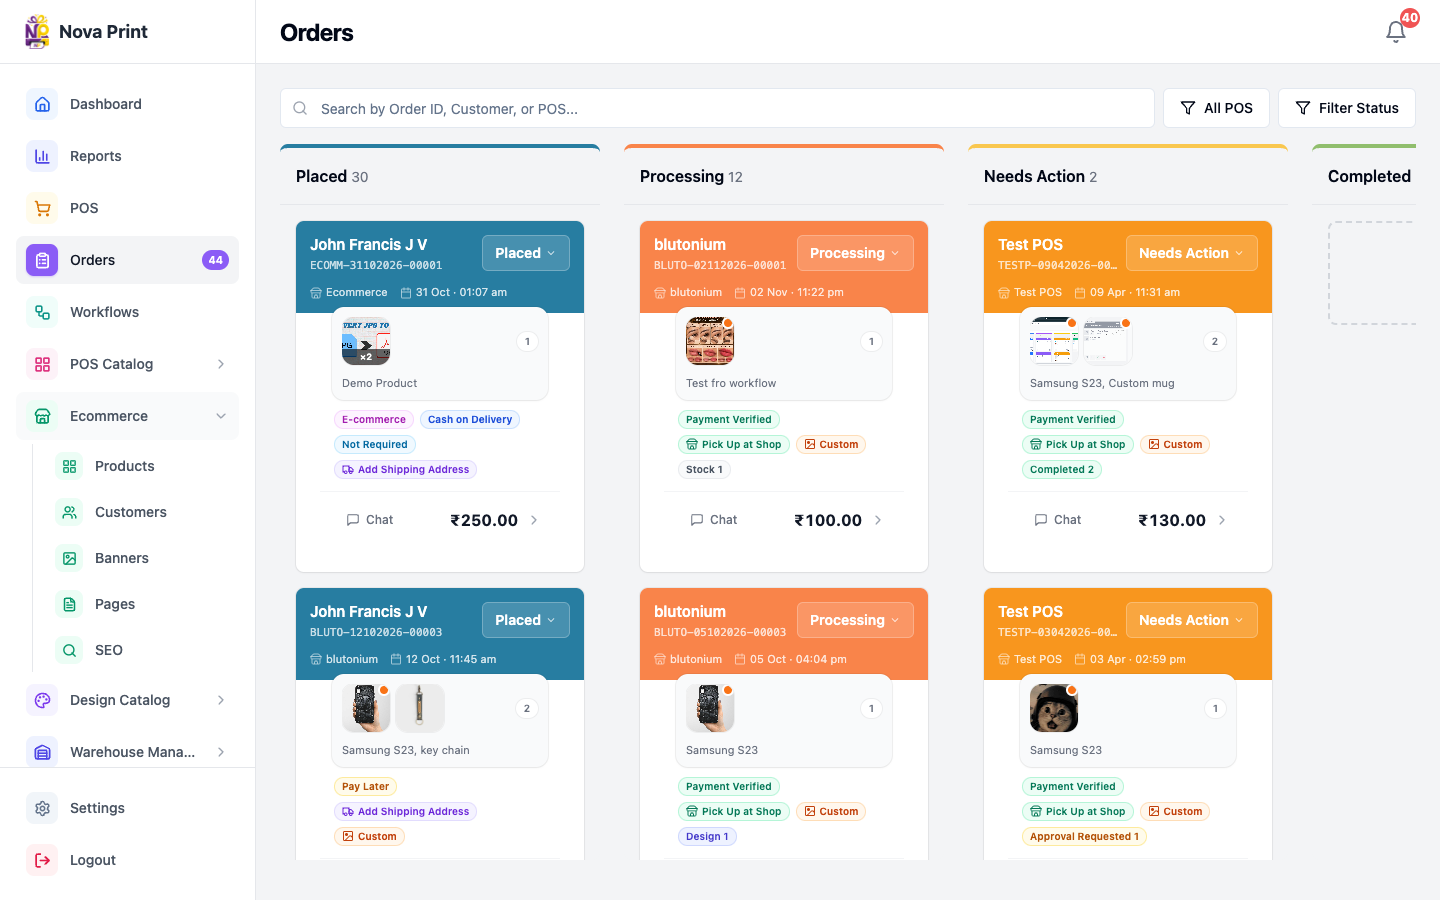
Shipping type Add Shipping Address (delivery) requires a tracking ID before Shipped. Pickup (Pick Up at Shop) and store (Ship to My Store) do not open the tracking modal for that rule.
- On the card or in detail, choose Change Status → Shipped, or drag the card to Shipped.
- When prompted, complete Enter Tracking ID.
- Description: Add the courier tracking ID for order {id} before marking it as Shipped.
- Enter Tracking ID (placeholder example: e.g. TRK-ABC123).
- Click Mark as Shipped (loading: Shipping...). Cancel aborts.
- Empty field: Please enter a tracking ID.
- In detail under Shipping, confirm Tracking ID: shows the value.
6. Review shipping without shipping yet
- Open Order Detail → Shipping.
- Confirm type badge and address fields.
- Tracking appears only after it was saved on ship (or via status update with tracking).
Checklist
- Screenshot reviewed before Verify when one exists.
- Reject reasons are clear for the customer / accounts follow-up.
- Delivery orders always get a tracking ID before Shipped.
- After verify, move to Processing so workflows can start for custom items.