Order a custom print
Custom prints let you pick a product model and either choose a catalog design or upload your own artwork. Quantity for a custom line is always 1.
Start from Custom Prints
- In the header, open Custom Prints →
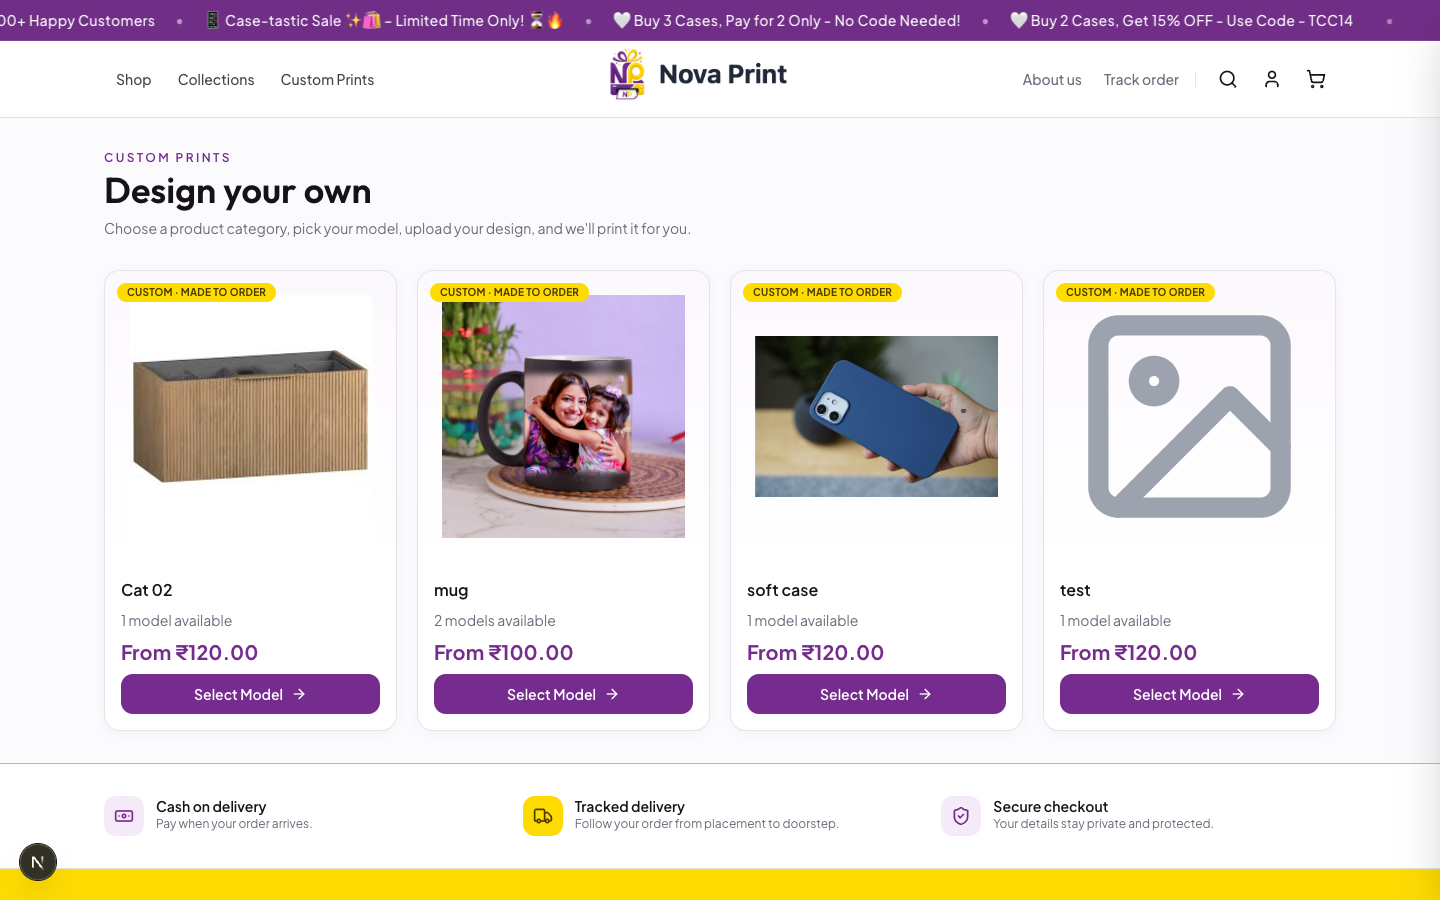
/custom. - Page title: Design your own.
- Choose a category card and click Select Model →
/custom/{category name}.
Optional deep link: /custom/{category}?model={productSlug} pre-selects a model when the slug is valid.
Badge on the configurator: Custom · Made to order.
Configurator steps
The right-hand wizard labels are: Choose model → Choose design → Add to cart.
1. Choose model
- Open 1. Select your model.
- Use the dropdown (Select a model...); you can filter with Search model....
- Select the model you want printed.
2. Choose design
Toggle between:
| Mode | What to do |
|---|---|
| Choose a design | Pick a design from the grid (name + SKU). If empty, follow browse all collections. |
| Upload your own | Use Upload your design — JPEG, PNG, GIF or WebP · max 10MB; you may upload multiple images. Status: {n} design(s) uploaded. |
Hints until ready: Select a catalog design to continue. or Upload at least one design image to continue.
3. Add to cart
- Review Total · Qty 1.
- Click Add to cart → confirmation Added to cart (cart drawer opens).
- Use Checkout on the success state, or open the cart and click Proceed to checkout.
Cart notes
- Custom lines show a Custom badge.
- Quantity stays at 1; remove the line and re-add if you need a different configuration.
Next steps
- Checkout (COD / Razorpay)
- Designs and collections for catalog designs without the custom category wizard