Checkout with COD or Razorpay
Complete shipping details and pay on the storefront checkout page. Staff enable which methods appear under Admin Ecommerce → Products → Payment Options (see Payment and shipping settings). Backend Razorpay keys are documented in the repo file docs/RAZORPAY_SETUP.md.
Route: /checkout
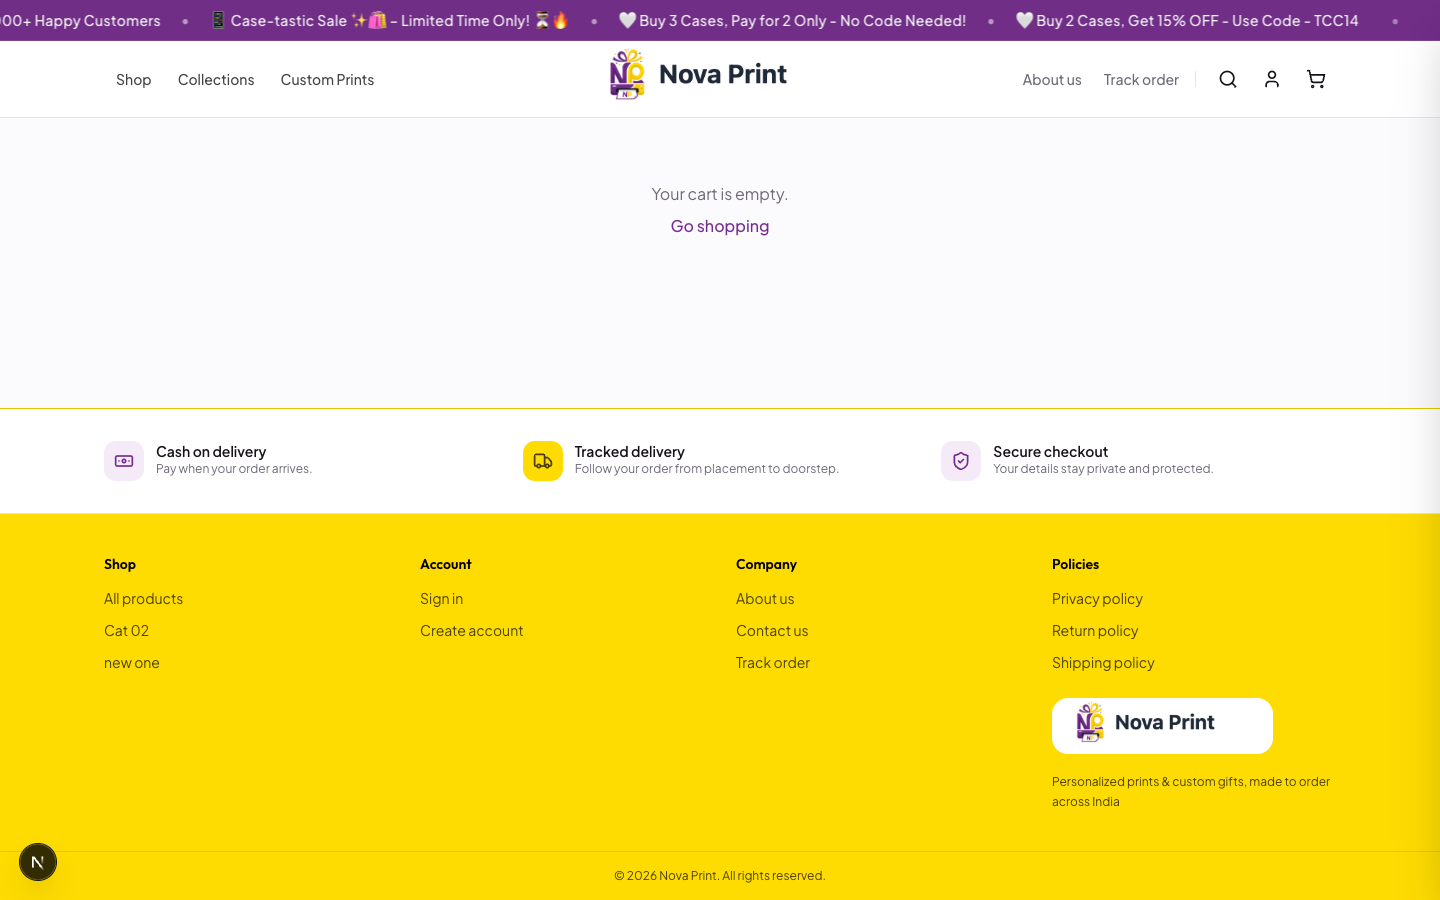
Empty cart: Your cart is empty. → Go shopping.
1. Shipping details
Guest banner (when not signed in): Already have an account? Sign in to use saved addresses and checkout faster.
Saved addresses (signed in)
- Under Shipping details, choose Deliver to (radios; Default marked when set).
- Or select Use a different address to fill a new form.
- Back to saved addresses returns to the picker.
New / guest address form
| Field | Required |
|---|---|
| Yes for guests (hidden when logged in). Help: Used to track your order after checkout. | |
| Full name | Yes (min 2 characters) |
| Address line 1 | Yes (min 5 characters) |
| Address line 2 | No |
| District / City | Yes |
| State | Yes |
| PIN code | Yes (6 digits). Help: Shipping is calculated after you enter a 6-digit PIN. |
| Mobile | Yes (10-digit Indian mobile) |
Order summary shows Subtotal, Shipping (Enter PIN to calculate / Calculating… / amount), Total, and optional Add more extras.
Shipping amounts come from the store’s pincode prefix rates (Admin Settings → Shipping). Behavior if you place an order before a quote finishes: Verify in UI.
2. Choose payment
Methods appear only when enabled by the store:
| Label | Help text |
|---|---|
| Cash on Delivery (COD) | Pay with cash when your order is delivered. |
| Pay online (Razorpay) | Pay securely with UPI, cards, or net banking. |
- If only one method is enabled, checkout auto-selects it.
- If both are enabled, select a radio before submitting. Prompt when none selected: Select a payment method to enable placing your order.
3. Place the order
Cash on Delivery
- Select Cash on Delivery (COD).
- Click Place order (busy: Placing order...).
- On success you are sent to
/checkout/success?order_id=…. - The store creates the order immediately; online payment is not required (
docs/RAZORPAY_SETUP.md).
Razorpay (Pay online)
- Select Pay online (Razorpay).
- Click Pay now (busy: Opening payment...).
- Complete payment in the Razorpay Checkout window (UPI / cards / net banking — hosted by Razorpay).
- After a successful verify, the store creates the order and redirects to the success page.
- If you close or cancel the popup: toast Payment was cancelled. You can tap Pay now to try again. No unpaid store order is left behind; stock is not reserved until payment completes (
docs/RAZORPAY_SETUP.md).
Success page
/checkout/success?order_id=…
- Heading: Order placed!
- Actions: Order receipt, Print receipt, Track order, Continue shopping
- Cart is cleared on load.
The receipt Payment row currently always shows Cash on Delivery (COD) in the storefront UI even for Razorpay orders — do not treat that line as authoritative for online payments. Verify in UI / staff should confirm payment method in Admin Orders.
Next steps
Related
- Technical: Ecommerce payments — COD / Razorpay verify and stock
- Technical: Stock rules