Checkout step 1 — Upload artwork
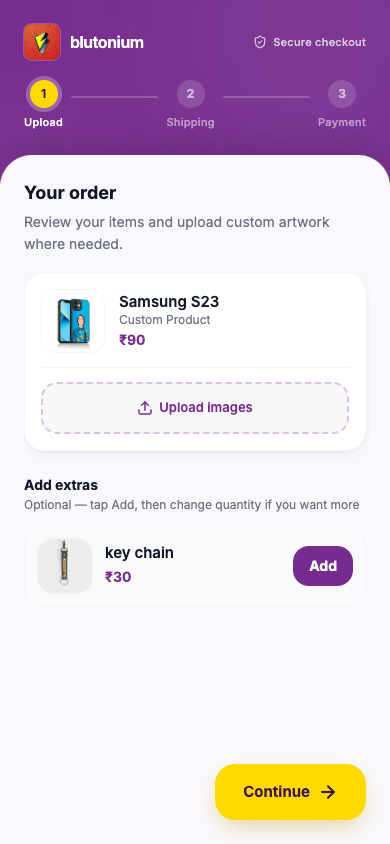
Step indicator label: Upload. Heading: Your order — Review your items and upload custom artwork where needed.
Customer
- Review the products the shop put on your link.
- Ready-made items need no upload.
- For custom items, use Upload images (
image/*, multiple files allowed). Thumbnails show what you added; you can remove a file before continuing. - Optional Add extras: open add-ons, tap Add, then change quantity if you want more. Copy: Optional — tap Add, then change quantity if you want more.
- Tap Continue.
If the store offers extras and you have not chosen any yet, a sheet may ask Want extras? with Add & continue, Continue without extras, or Skip extras.
Validation: custom (non–add-on) products need at least one image (new upload or already on the link). Otherwise: Please upload at least one image for custom products.
Your uploads go to the shop’s checkout image API; the step is saved as step 1 on the link.
Staff
When you create the customer link, mark customizable products correctly and set prices. After the customer continues, their images appear under Uploaded Designs: in Customer Submission on Link History.